Mansplaining Free Zone
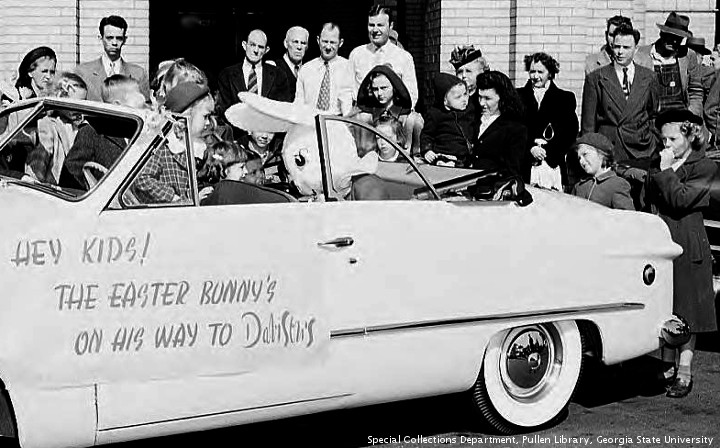


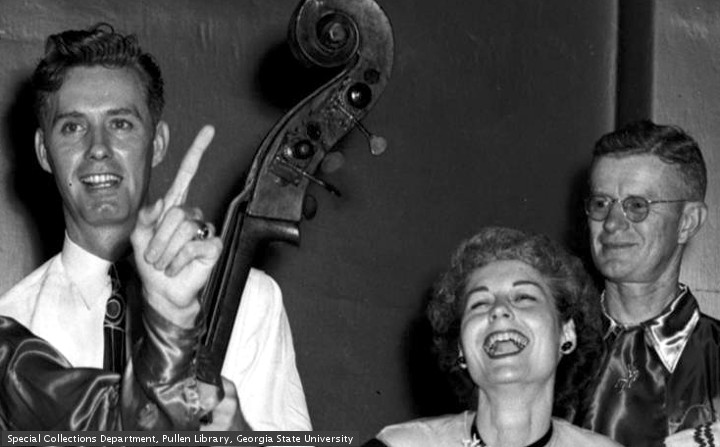

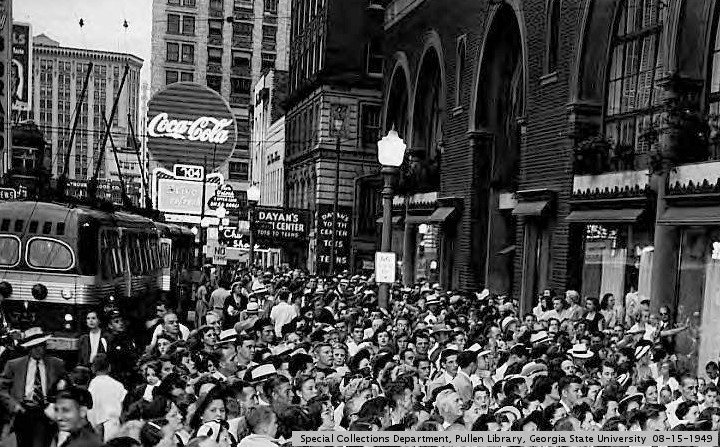


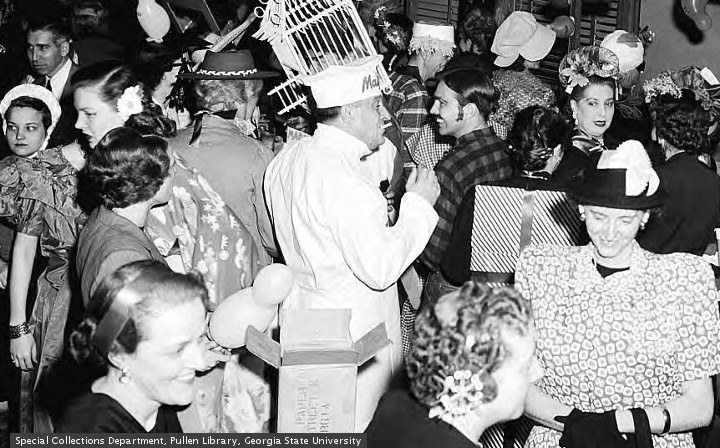

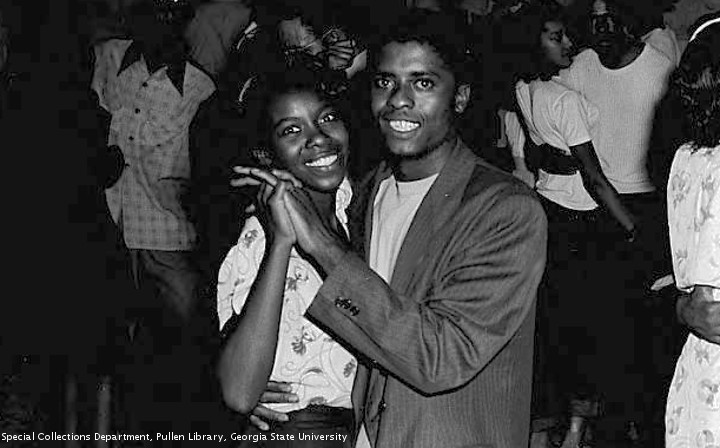
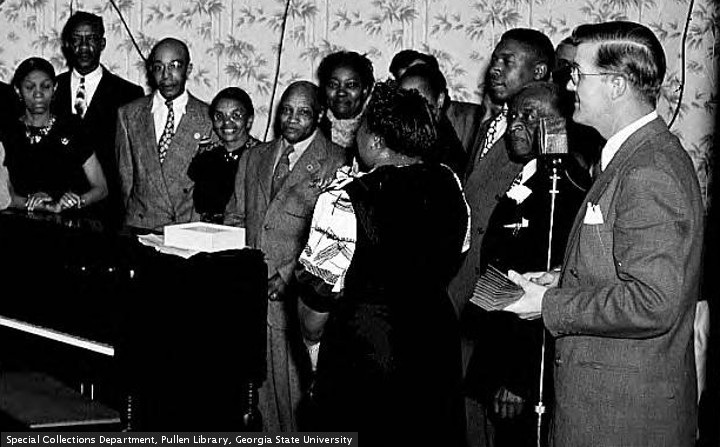
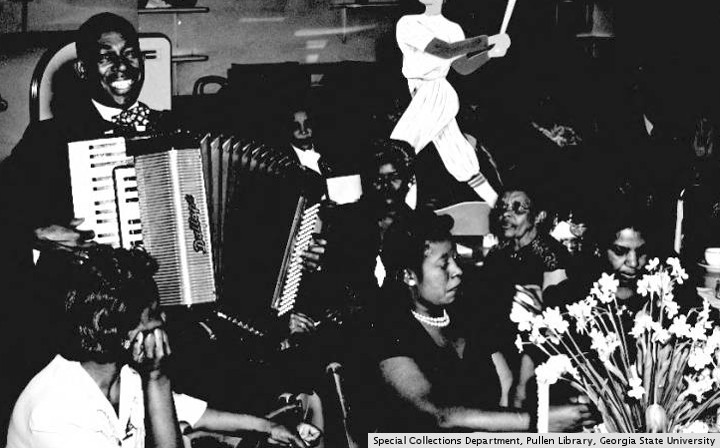
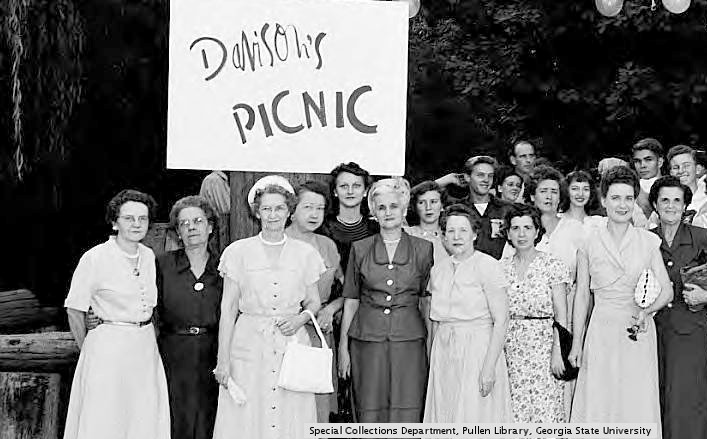
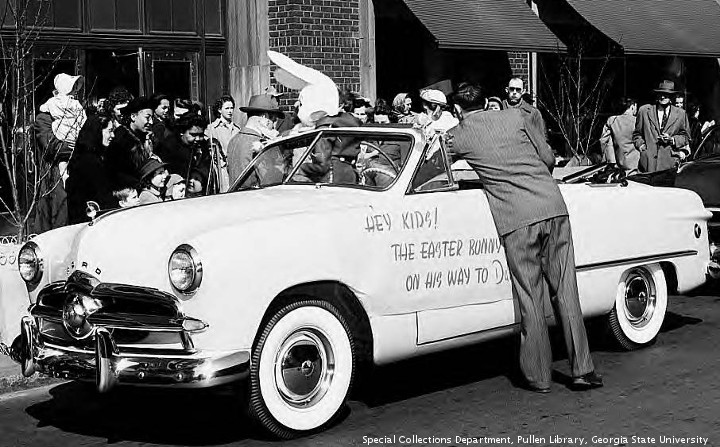
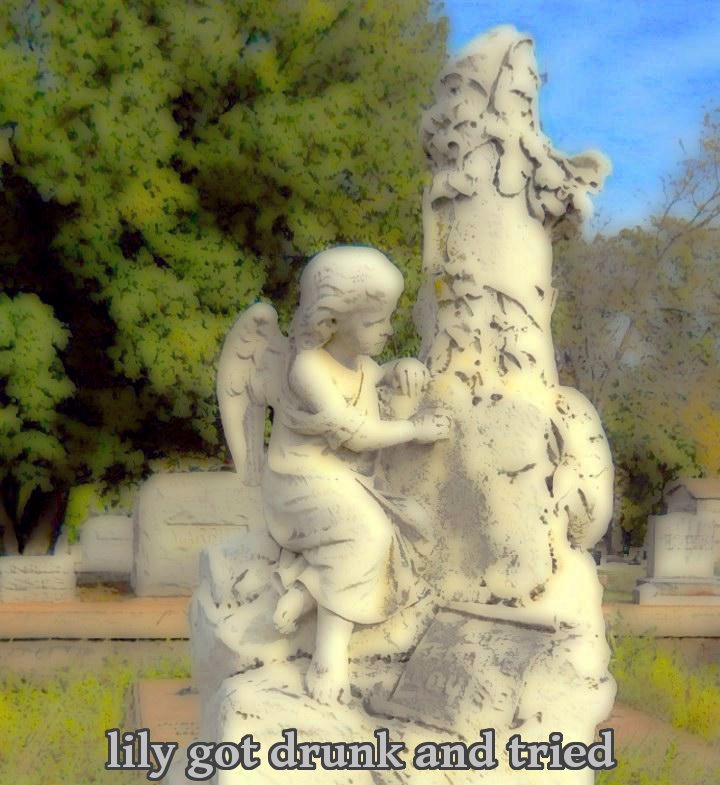
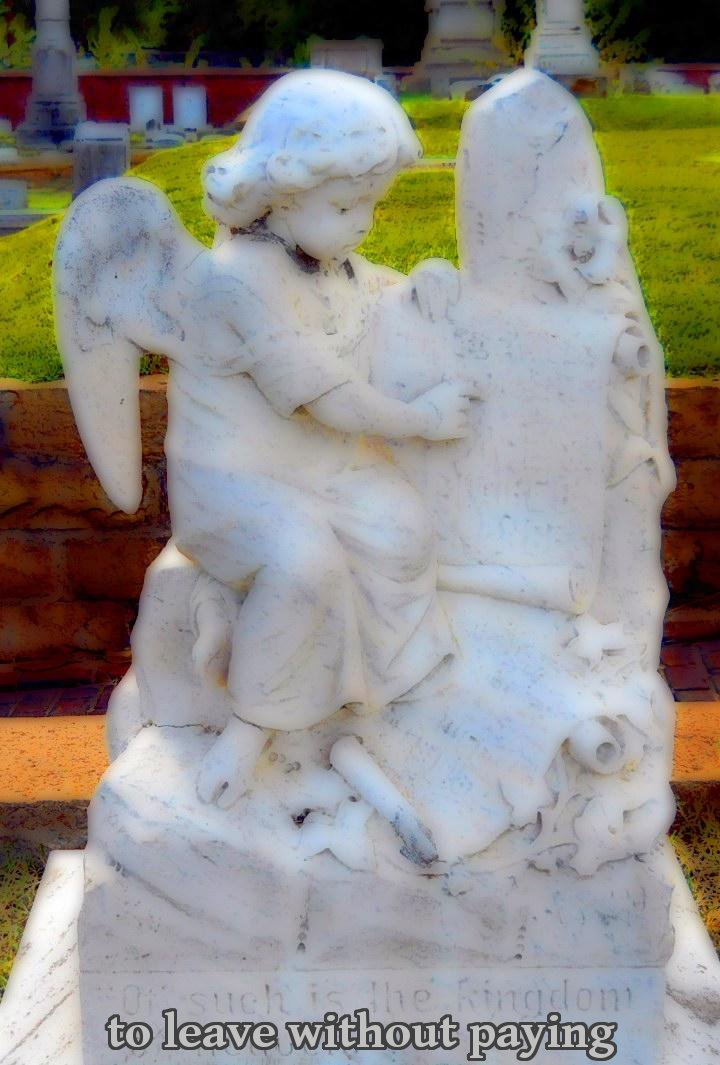
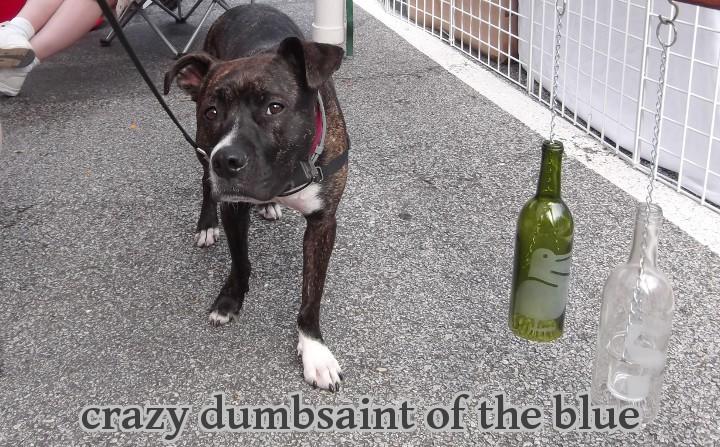
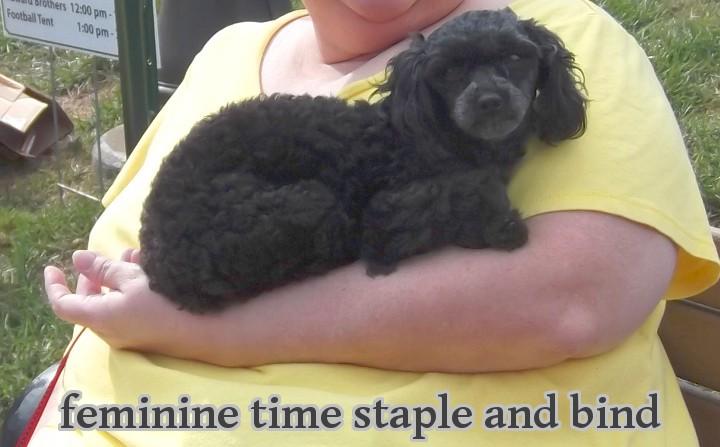
King Ozymandias of Assyria was running low on cash after years of war with the Hittites. His last great possession was the Star of the Euphrates, the most valuable diamond in the ancient world. Desperate, he went to Croesus, the pawnbroker, to ask for a loan. Croesus said, “I’ll give you 100,000 dinars for it.” “But I paid a million dinars for it,” the King protested. “Don’t you know who I am? I am the king!” Croesus replied, “When you wish to pawn a Star, makes no difference who you are.” ~ Why are elections, with those horrible commercials, held during football season? ~ @chescaleigh My mentions are a victim blaming, derailing, mansplaining free zone. Thanks for understanding. ~ Can you still purchase a lot in Oakland Cemetery? ~ when the machine quits working and you don’t know what to do ~ type c in google the first result is Citigroup Inc ~ Pius XII will be declared a saint before this American martyr is even considered. ~ 1- How many police officers wore a wristband saying “I am Darren Wilson”? 2- What jurisdiction were they in? 3- Dr. Loury says “We know …” with regards to his claim that police officers in the St. Louis area are wearing wristbands that say “I am Darren Wilson” Who is “we”? How does “we” know this? 4- What evidence do you have for this claim? I have seen one photograph. It is possibly photoshopped. It shows a person with the wrist band. Is this an arm or a leg? Is this a man or a woman? How do we know it is a policeman? The last question is very important. How do we know it is a policeman? What jurisdiction does he/she work for? ~ Create Your Personalized Voter Page & Show Your Support for Governor Nathan Deal. ~ You’ve reached the end of the Top Tweets for #ScaryStoriesIn5Words. ~ In France they call a meme a ouioui ~ Stop trying to apply lessons learned from your relationship with your cat to humans. ~@JoyceCarolOates One could argue that the “great” religions have been militant at one time or another; otherwise, would not have survived. ~ is great religion an oxymoron? ~ The last time I was there the mural was falling down. ~ Yep, it’s a long list of fringe “facts” used throughout the happy land of U-Tube scribes that suffer from differing forms of cognitive dissonance- if one makes up their own reality one can never really be wrong- at least not in their own minds. ~ This is one of 2934 comments to a BBC documentary that defends the role of Great Britain in World War I. ~ Who can see this? When you post something, people can Share it. But this doesn’t change who can see your post on Facebook – it can only be seen by the people you originally posted to. Learn more about Sharing. ~ How do you drive a douchebag? ~ Is this the baby or the bathwater? ~ I sometimes give myself excellent advice. Occasionally, I even listen to it. Jim Butcher ~ If I had to choose, I should detest the tyranny of one man less than that of many. A despot always has his good moments; an assembly of despots never. Voltaire ~ pictures from “The Special Collections and Archives, Georgia State University Library”. ~ selah


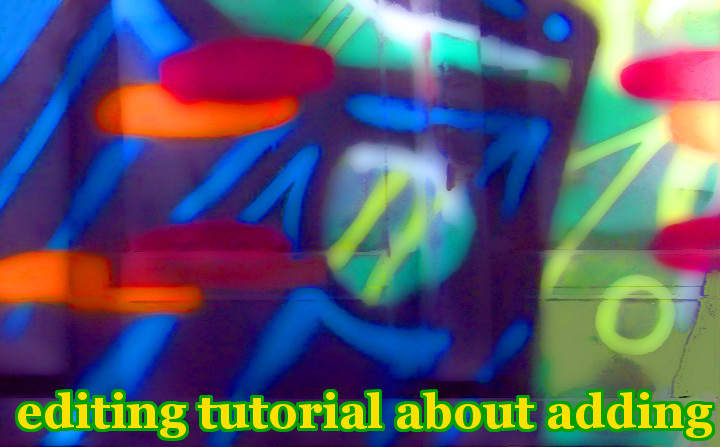
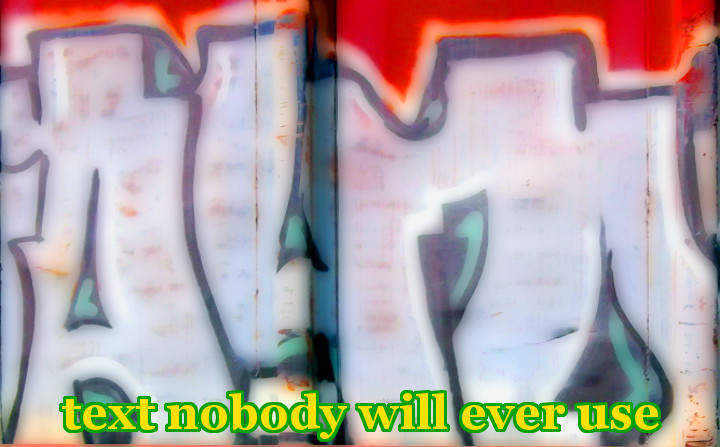

Adding Text With GIMP 2.0


UPDATE The original version of this tutorial was written using an older version of GIMP. If you have an older copy of the program, you can use the link to find this tutorial. This edition of the tutorial is based on GIMP 2.8.10.
This tutorial is about using GIMP to put borders around text. If you are making graphic images, this step allows you to use almost any image as a background. This tutorial is based on the embedded video. There are a few things different in the version in this post. The video has some jivvy music, which some of you will enjoy. Pictures today were created using the methods described in this tutorial. One poem uses non standard size images.
This process does not always make sense. It is not always logical. Just follow the instructions. If you make a mistake, and something does not work, just close out the window and start over. Keep these instructions handy the first few times you do this. After a while it will be easy.
This tutorial uses GIMP. If you use photoshop, you probably already know how to do this, or how to find someone to show you. If you need to download GIMP, use the link. This tutorial was written for the PC. Mac users can find help on their own.
If you go in the Edit menu of GIMP, you see an option, Keyboard Shortcuts. There are two user created Shortcuts used in this process. 400% enlargement is selected using 3. Tool Options is selected using ctrl + d. Using the menu is always an option.
Create a template for the text. Open a new window. (ctrl + n) Set the size. For pictures at chamblee54, the standard size is 720 x 447, pixels. Under Advanced Options, Fill with, choose Transparency. Save this template using the .xcf format. The chamblee54 name is 720447t.xcf. You are going to use this file again. (If you like, you can create the text directly onto the background image, and skip this step.)
01 Create a folder for your project. Create this folder in a place where you can find it easily. Create a sub folder, and name the sub folder “old”. When you finish working with a picture, drag the background picture into the “old” folder. Copy the text template file, and paste it into the project folder. If you do this, when you Export the file, the renamed file will go in your project folder.
02 Open GIMP. If you double click on the text template file, the program will open. Open the Toolbox, (ctrl + b) Tool Options, (ctrl + d) and Layers dialog window. (ctrl + L) In the Move tool (m), make sure that under Move, you have layers selected. (This is the icon on the far left.) Under Tool Toggle, choose “Move the active layer.” You will probably need to select this at the start of the project.
03 Compose the text in a word document. Try to make all revisions before starting to create the images. Copy the selected line of test into the window when appropriate.
04 Choose a font. Choose foreground, and background, colors. Copy the longest line of text. Paste it into the text rectangle. (See step 06) Go to the triangles next to the size window, in the Tool Options. Click on the up triangle as many times as you can. When the text is too big for one line, hit the down triangle. This is the size of the text. Write this number down somewhere, preferably in the word document with the text. If you have to leave and come back, you will want to know how big to make the text. Close the window, and select Discard Changes. Start working with the first line of text.
05 Before performing the next few steps, click on the status bar of the text template window. You want to perform this action in the selected window. and you want the text template window to be selected. If you choose a command, and apply it to the wrong window, it will mess things up. You want as little frustration as possible.
06 Select Text. (t) Draw a rectangle on the picture. Try to start the rectangle as close to the left edge as possible, and go all the way to the right edge. Make sure it is tall enough for the letters. Paste the text into the rectangle. Before pasting in the text, hit the space bar one time. When you make this image larger, it will need room to grow. Paste the selected text into the text window. (ctrl + v)
07 Select text from path. Choose “Text to Path” from the Layer menu. (alt+L, p)
08 Select “From Path” from Select menu. (alt + s, o) The text is now coated in flashing dash marks. This has something to do with being selected.
09 Select “Grow” from Select menu. (alt + s, g) The “Grow Selection” window will appear. Type 3 in the highlighted field. If you want to have a bigger border, put a larger number in. Click OK. (enter)
10 Select “Fill with BG Color” from Edit menu. (ctrl + .) The Text Editor window should go away now. If the Text Editor window does not go away, something is wrong.
11 Select “None” from Select menu. (ctrl + shift + a) As we mentioned earlier, some of these steps don’t make sense. This is one of those steps.
12 Click anywhere on text. The “Confirm Text Editing” window will appear. Select “Create New Layer”. (alt + n) The new layer of text is automatically centered on the enlarged layer of text. Try to click towards the left side of the text. If the new layer of text does not appear in the center, hit undo, (ctrl + z) and try again.
13 Select the Toolbox. (ctrl + b) If you leave the text window selected, you will continue to add text when you hit d, 3, and m.
14 Select “Merge Down” from the Layer menu. (d) Where you once had three layers, you will now have two. Enlarge the text to 400%. (3) Select Move. (m) Make sure that under Move, you have layers selected. (This is the icon on the far left.) Under Tool Toggle, choose “Move the active layer.” You will probably need to select this at the start of the project.
15 Move the finished text into place. If it goes at the bottom of the picture, move it to the bottom right hand corner. Place the baseline a few pixels off the bottom. If you are doing multiple images, make sure the bottom line is the same for all the panels. (Most chamblee54 images are 720×447 pixels. The baseline of the text is resting on 431 pixels. The baseline is the bottom part of the word bottom. The descender of g,j,p, or q, is going to be below the baseline.)
16 Position the right edge of the text flush against the right edge of the picture. Scroll to the left side of the text. Place the cursor over the left edge of the text, and see what the pixel counter says. The first number will be width, the second number is height. Note the position of the left edge of the text. See the location in pixels. Divide the first number in half. Move the edge of the text to this number. Scroll to the right side of the text, and confirm that the distance to the edge of the picture is the same on both sides. Confirm that the bottom of the text is on 431, or the correct level.
17 Anchor the two layers of text. (d) Reduce text to 100%. (1)
18 Drag a background picture into the text template window. In the Layers dialog, select Background. Click on the little green arrow going up. If you are happy with the results, anchor the text onto the picture. (d) If you are not happy with the results, select the picture, and click on the garbage can in the lower right corner. Drag another picture into the text template window. Repeat process until you are happy with the results.
19 Export the picture. You may be used to using Save. In GIMP, you do not Save, you Export. Select “Export as”. (cntrl + shift + e) Give the finished product a name. Drag the background picture into the “old” folder. Close the window. (alt + F4) (Be careful not to close Toolbox.) Select Discard Changes. (alt + d) Start another image.
Here is a quick reference for the basic steps.
01 Paste text into text template window.
02 “Text to Path” (alt+L, p)
03 “Select “From Path” (alt + s, o)
04 “Grow” (alt + s, g) (enter)
05 “Fill with BG Color” (ctrl + .)
06 “None” (ctrl + shift + A)
07 Click anywhere on text. “Create New Layer”. (alt + n)
08 Toolbox (ctrl + b) Merge Down (d) Enlarge 400% (3) Move (m)
09 Center text at bottom of window. Merge Down (d) Reduce 100% (1)
10 Drag background image into text template window. Put text in front. Merge Down. (d) Export image. (cntrl + shift + e)


Are My Attitudes About Race Any Of Your Business?


PG was living his life when see saw something on facebook: “And another thing: if you are going to claim NOT to be racist, I feel like you should familiarize yourself with some contemporary writings and definitions of racism, not just what Mirriam Webster says.” The first reaction was to ignore this. If you reply to a comment about racism on facebook, you are asking for trouble. Life is too short to be wasting time on such unpleasantness.
But the thought engine had been kickstarted, and continued to idle in the background. When PG pulled into the Kroger parking lot, the idea hit full force. Maybe whether you are, or are not, a racist, is no one else’s business.
Some people say that a PWOC is not affected by racism. If this is the case, then why should the racial attitudes of a PWOC affect another PWOC? If a person treats you fairly, do you really need to know this person’s attitudes about race?
The fbf does not say what the context of this claim is. Did anyone ask you whether or not you were a racist? If not, are you assuming that they are interested? Maybe someone assumed the listener was interested. Is the proper response to look bored, and say TMI?
PG was filling out a profile once, and was using some questioned borrowed from another blog profile. One of the questions was, are you a racist? “It depends on who is doing the judging”.
The comment mentioned “contemporary writings and definitions of racism”. Who are the people who set themselves up as arbiters about what we should think about race? What are the qualifications? Who asked them what they thought? How do we know that these people are dependable?.
Maybe the answer is to show compassion and kindness to your neighbor, and don’t judge them about their racial attitudes. If you are proud of your racial attitudes, please refrain from boasting. Not everyone is interested in what you think about race.
Pictures are from The Library of Congress. This is a repost.


leave a comment